BrewVic – Fingerprint American Pale Ale

BrewVic setup an event where ~25 of us will brew using the exact same ingredients and compare how the resulting beer comes out.

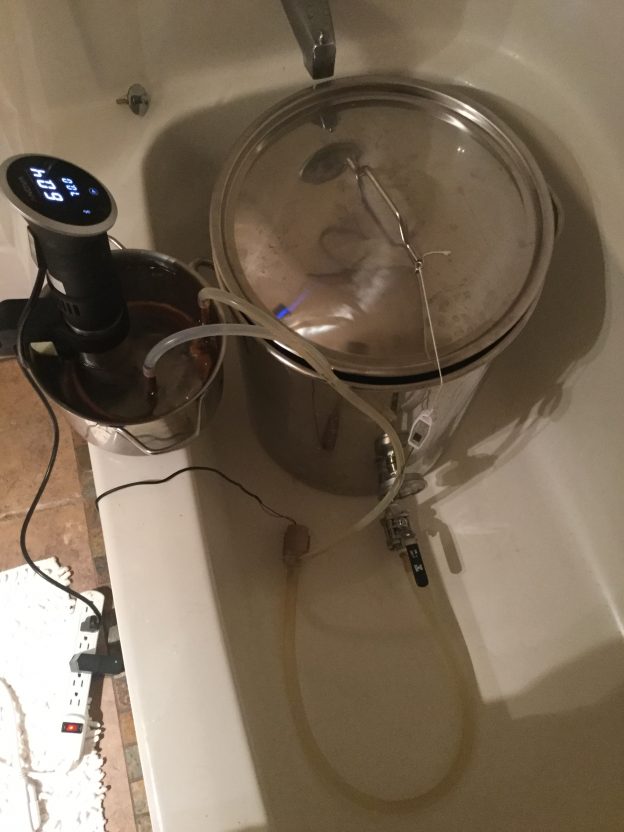
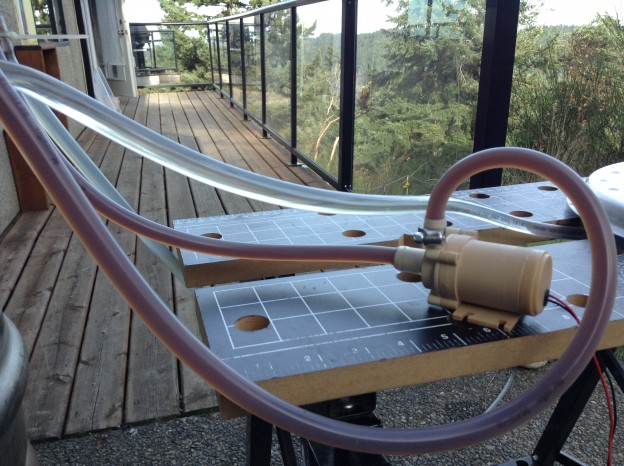
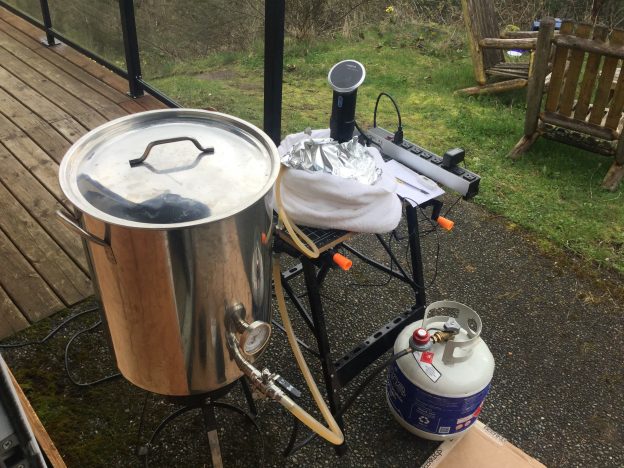
For my version, I brewed on my BIABasket using my Cheapo Herms and my new pump. I crushed the grain at home on my JSP Maltmill set to around a ~0.030″ gap. This provided a finer crush than I had been getting at the homebrew shop.

I used a two stage water filter with an initial Doulton Sterasyl Ceramic OBE filter cartridge to knock out sediment followed by a KDF/GAC Filter Cartridge aimed at removing chlorine and chloramine.

I utilized BIABCalculator to determine the volume and temperature of strike water. It ended up recommending 6.97 gallons at 158*F. I touched up the temperature every 15 minutes by stirring and turning the propane burner on low.

I did an early touchup without taking notes. For all my later touchups I recorded the values:

Time Previous Temp Liquid Temp Grain Temp Anova SP Anova Temp
30m 152F @20m in 149F 151F 162F 158F
45m 152F 148F 149F 162F 156F
60m 151F 148F 149F 167F 156F

My new 24″ Stainless Whisk worked superbly at mixing in the grains and at resuspending the mash while adding heat. Much nicer than the spoon I had been using.

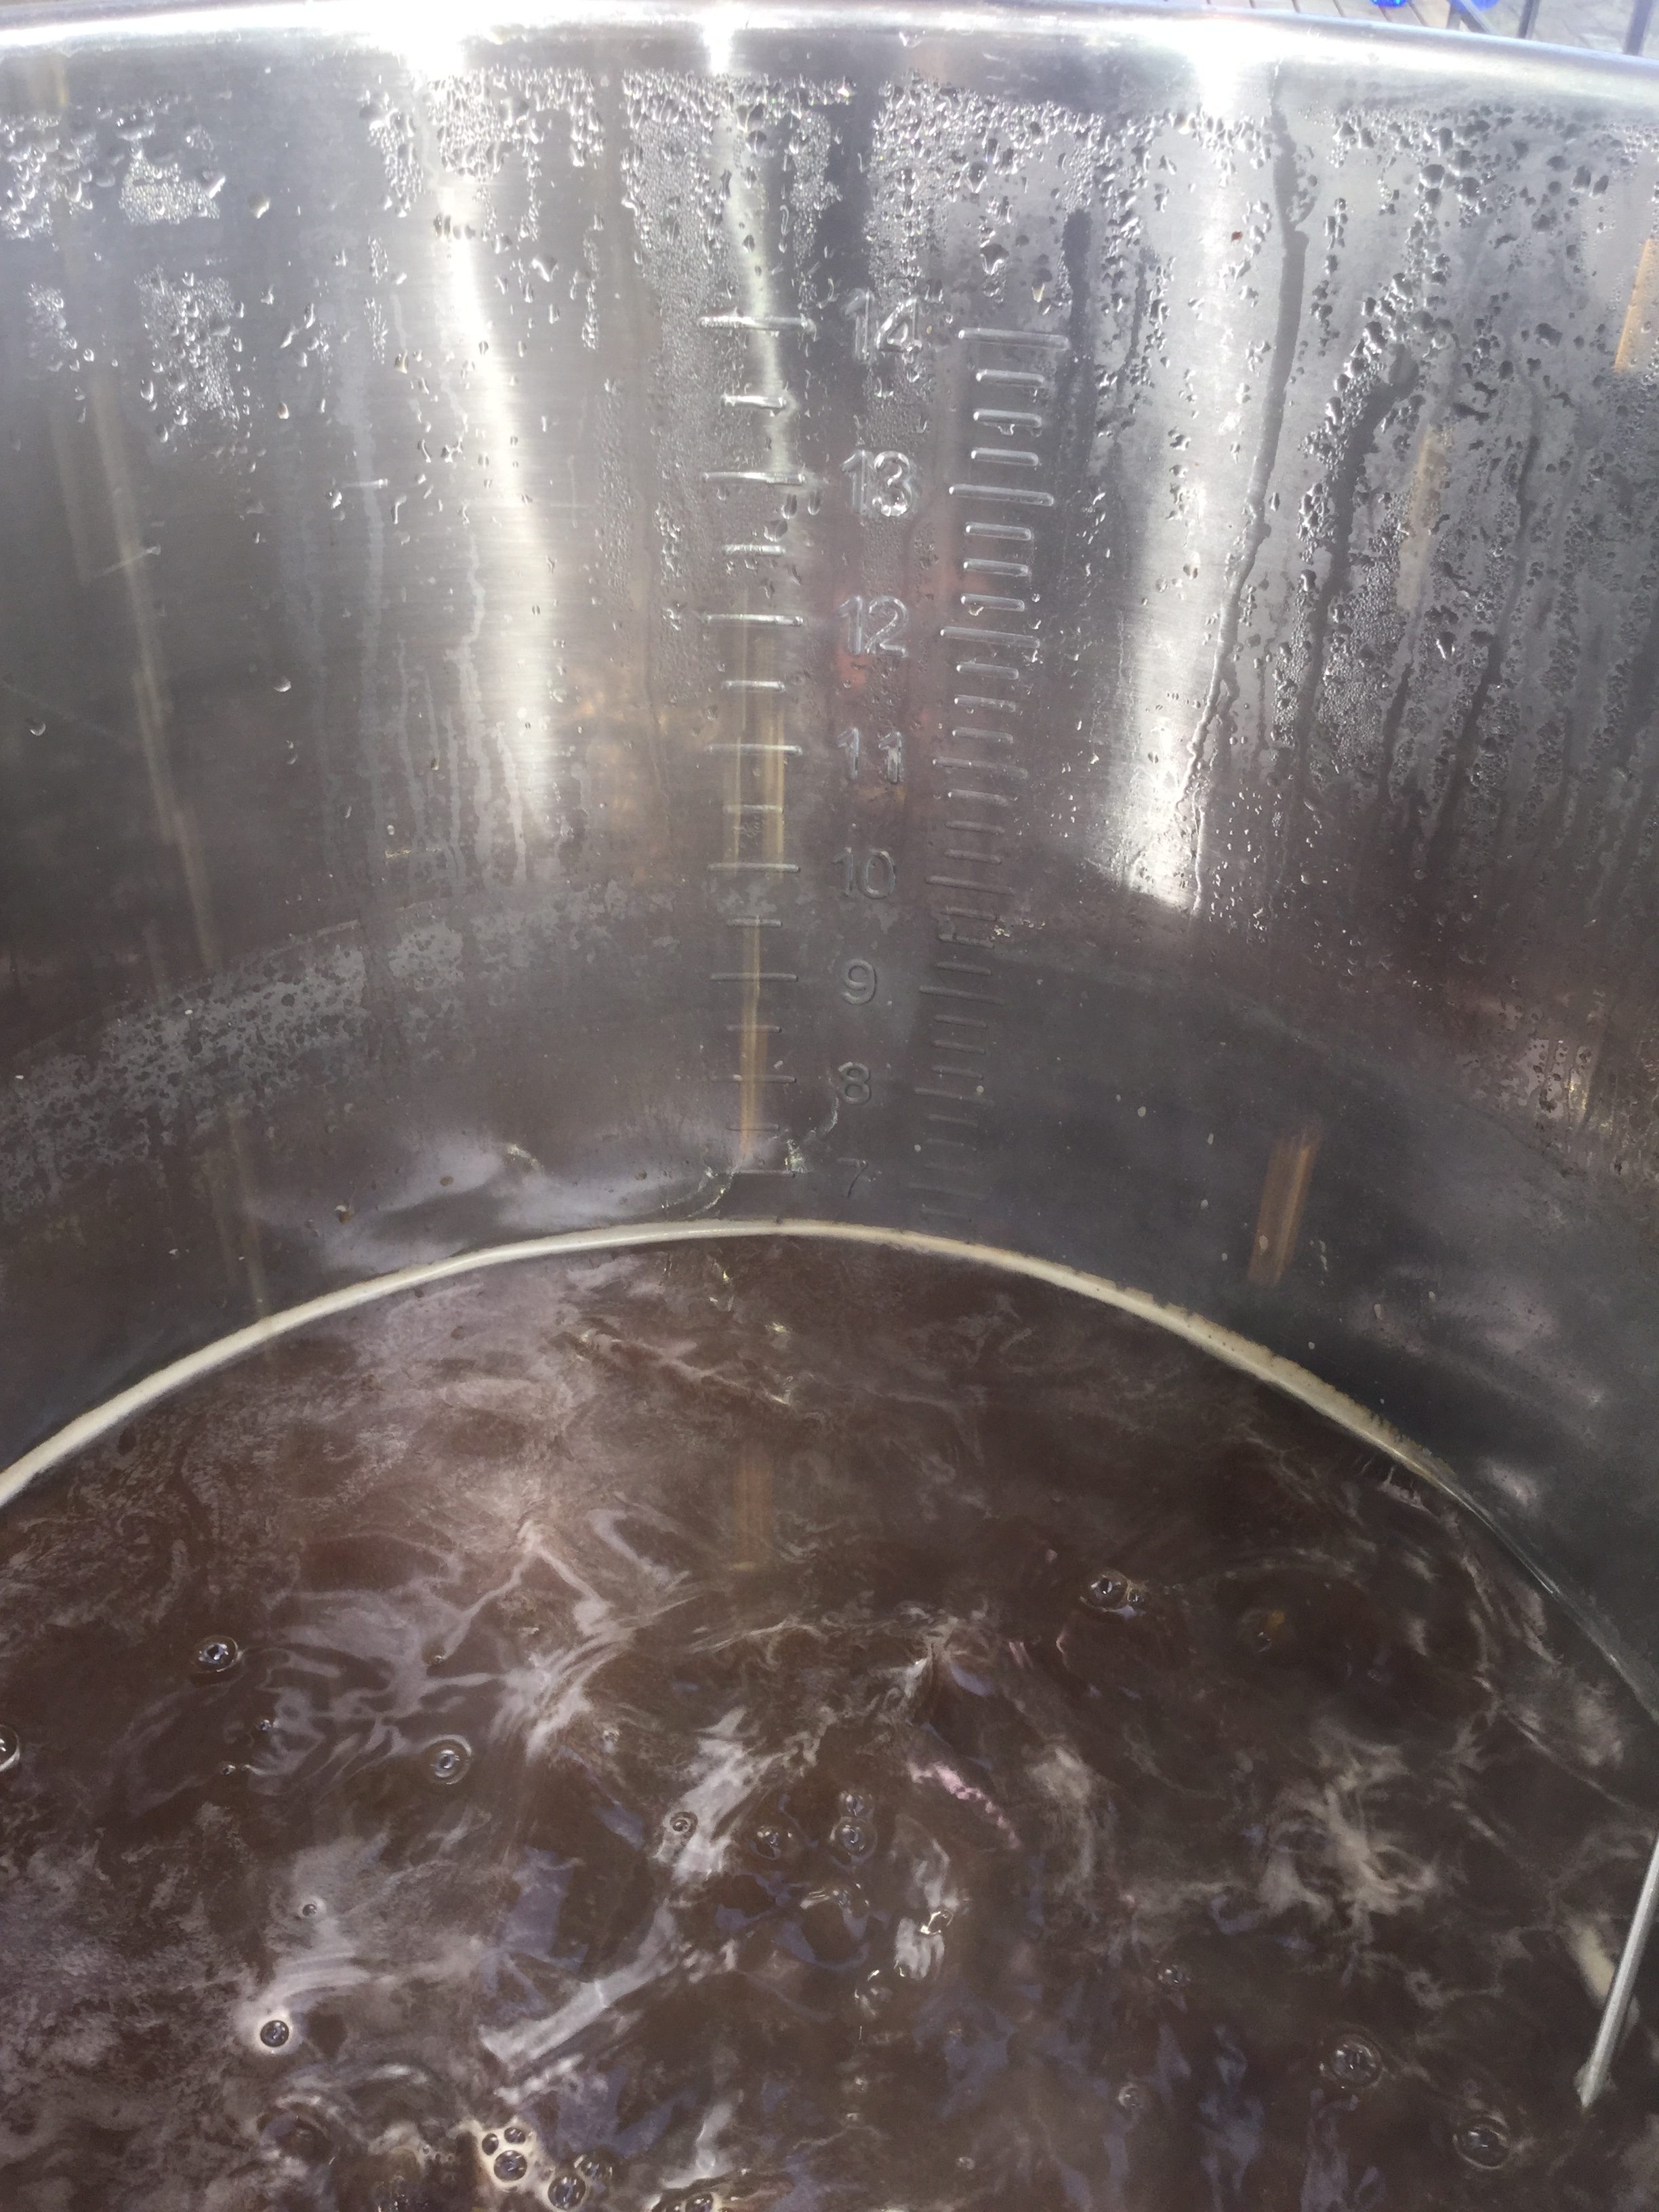
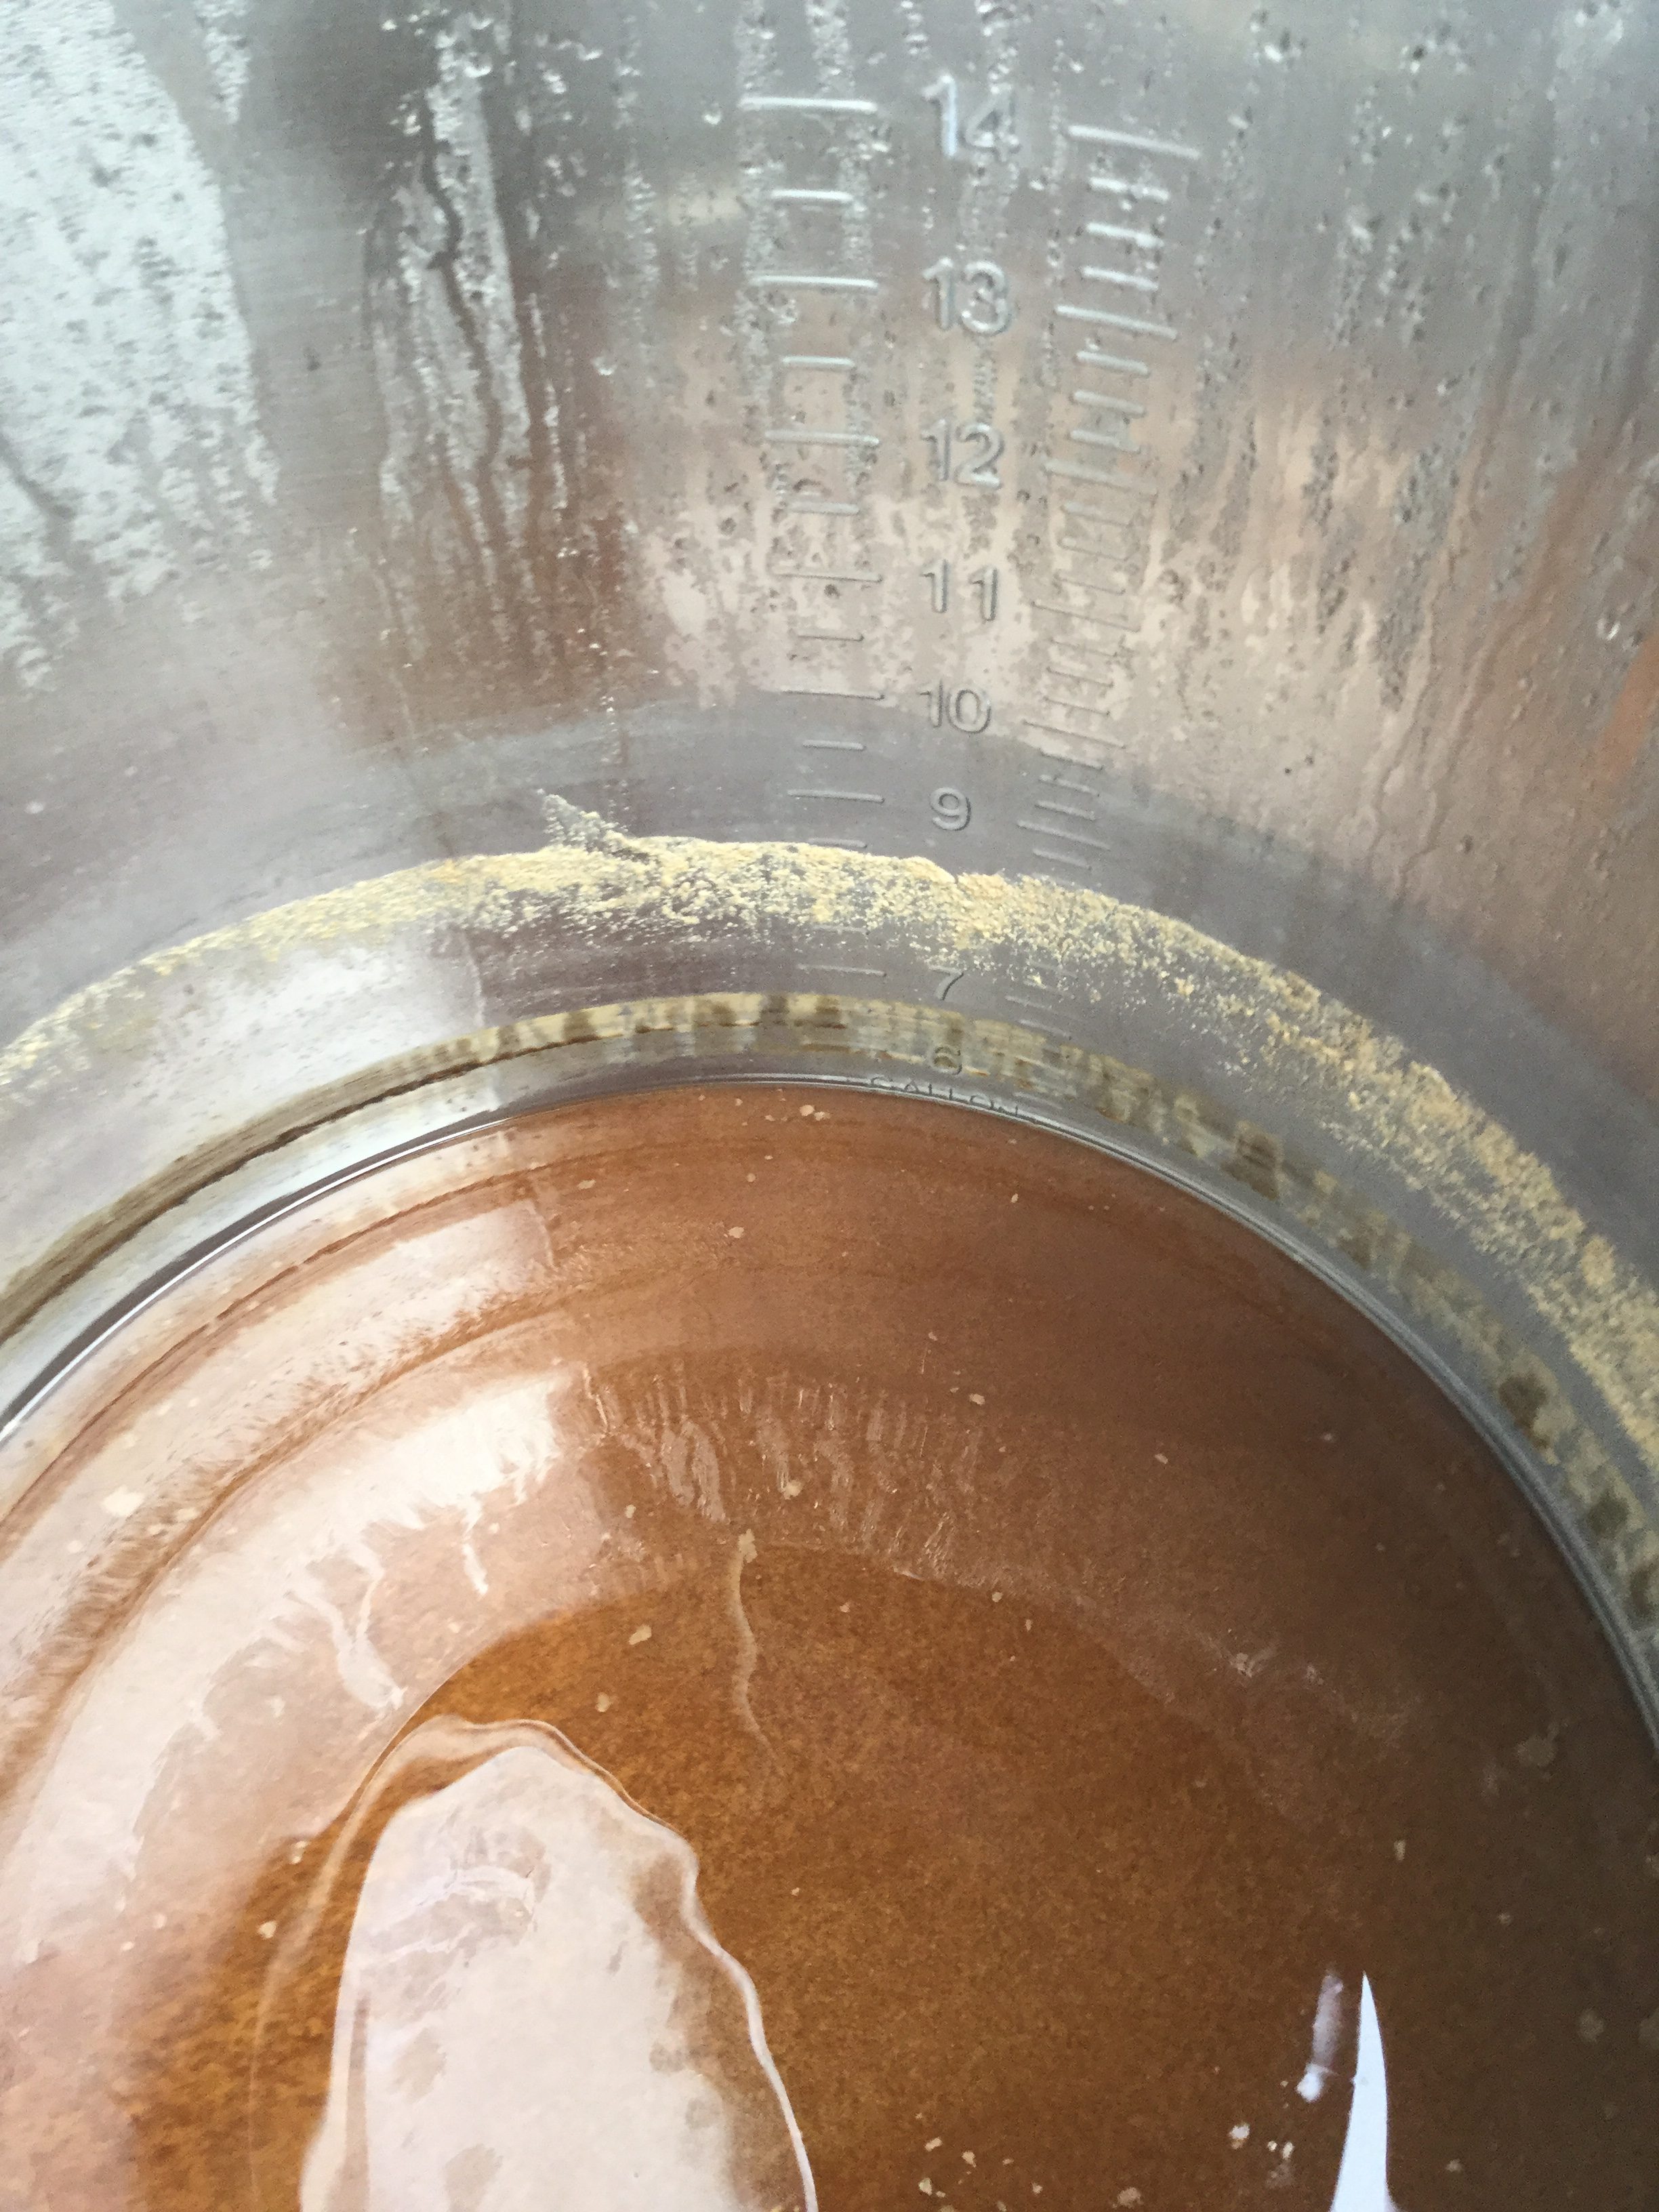
My target volume of wort was 6.5 gallons. I collected 6 gallons with no squeezing, 6.25 gallons after light squeezing. I added 0.25 gallons of filtered water to bring it up to volume. It seems like my grain absorption gallong/lb is more like 0.1 (no squeeze) not my guesstimated 0.045.

At the start of boil I added 3 drops of fermcap to avoid excessive foaming.

Instead of my normal hop spider, I rinsed the BIABasket and used that to contain the hop additions. It was a mistake. The basked clogged with hop particulate and made draining the wort a real pain. Ultimately I poured the 1.5 gallons or so through the hop spider to filter it but let it flow out to the carboy. In future; I will stick to the hop spider from the get go.

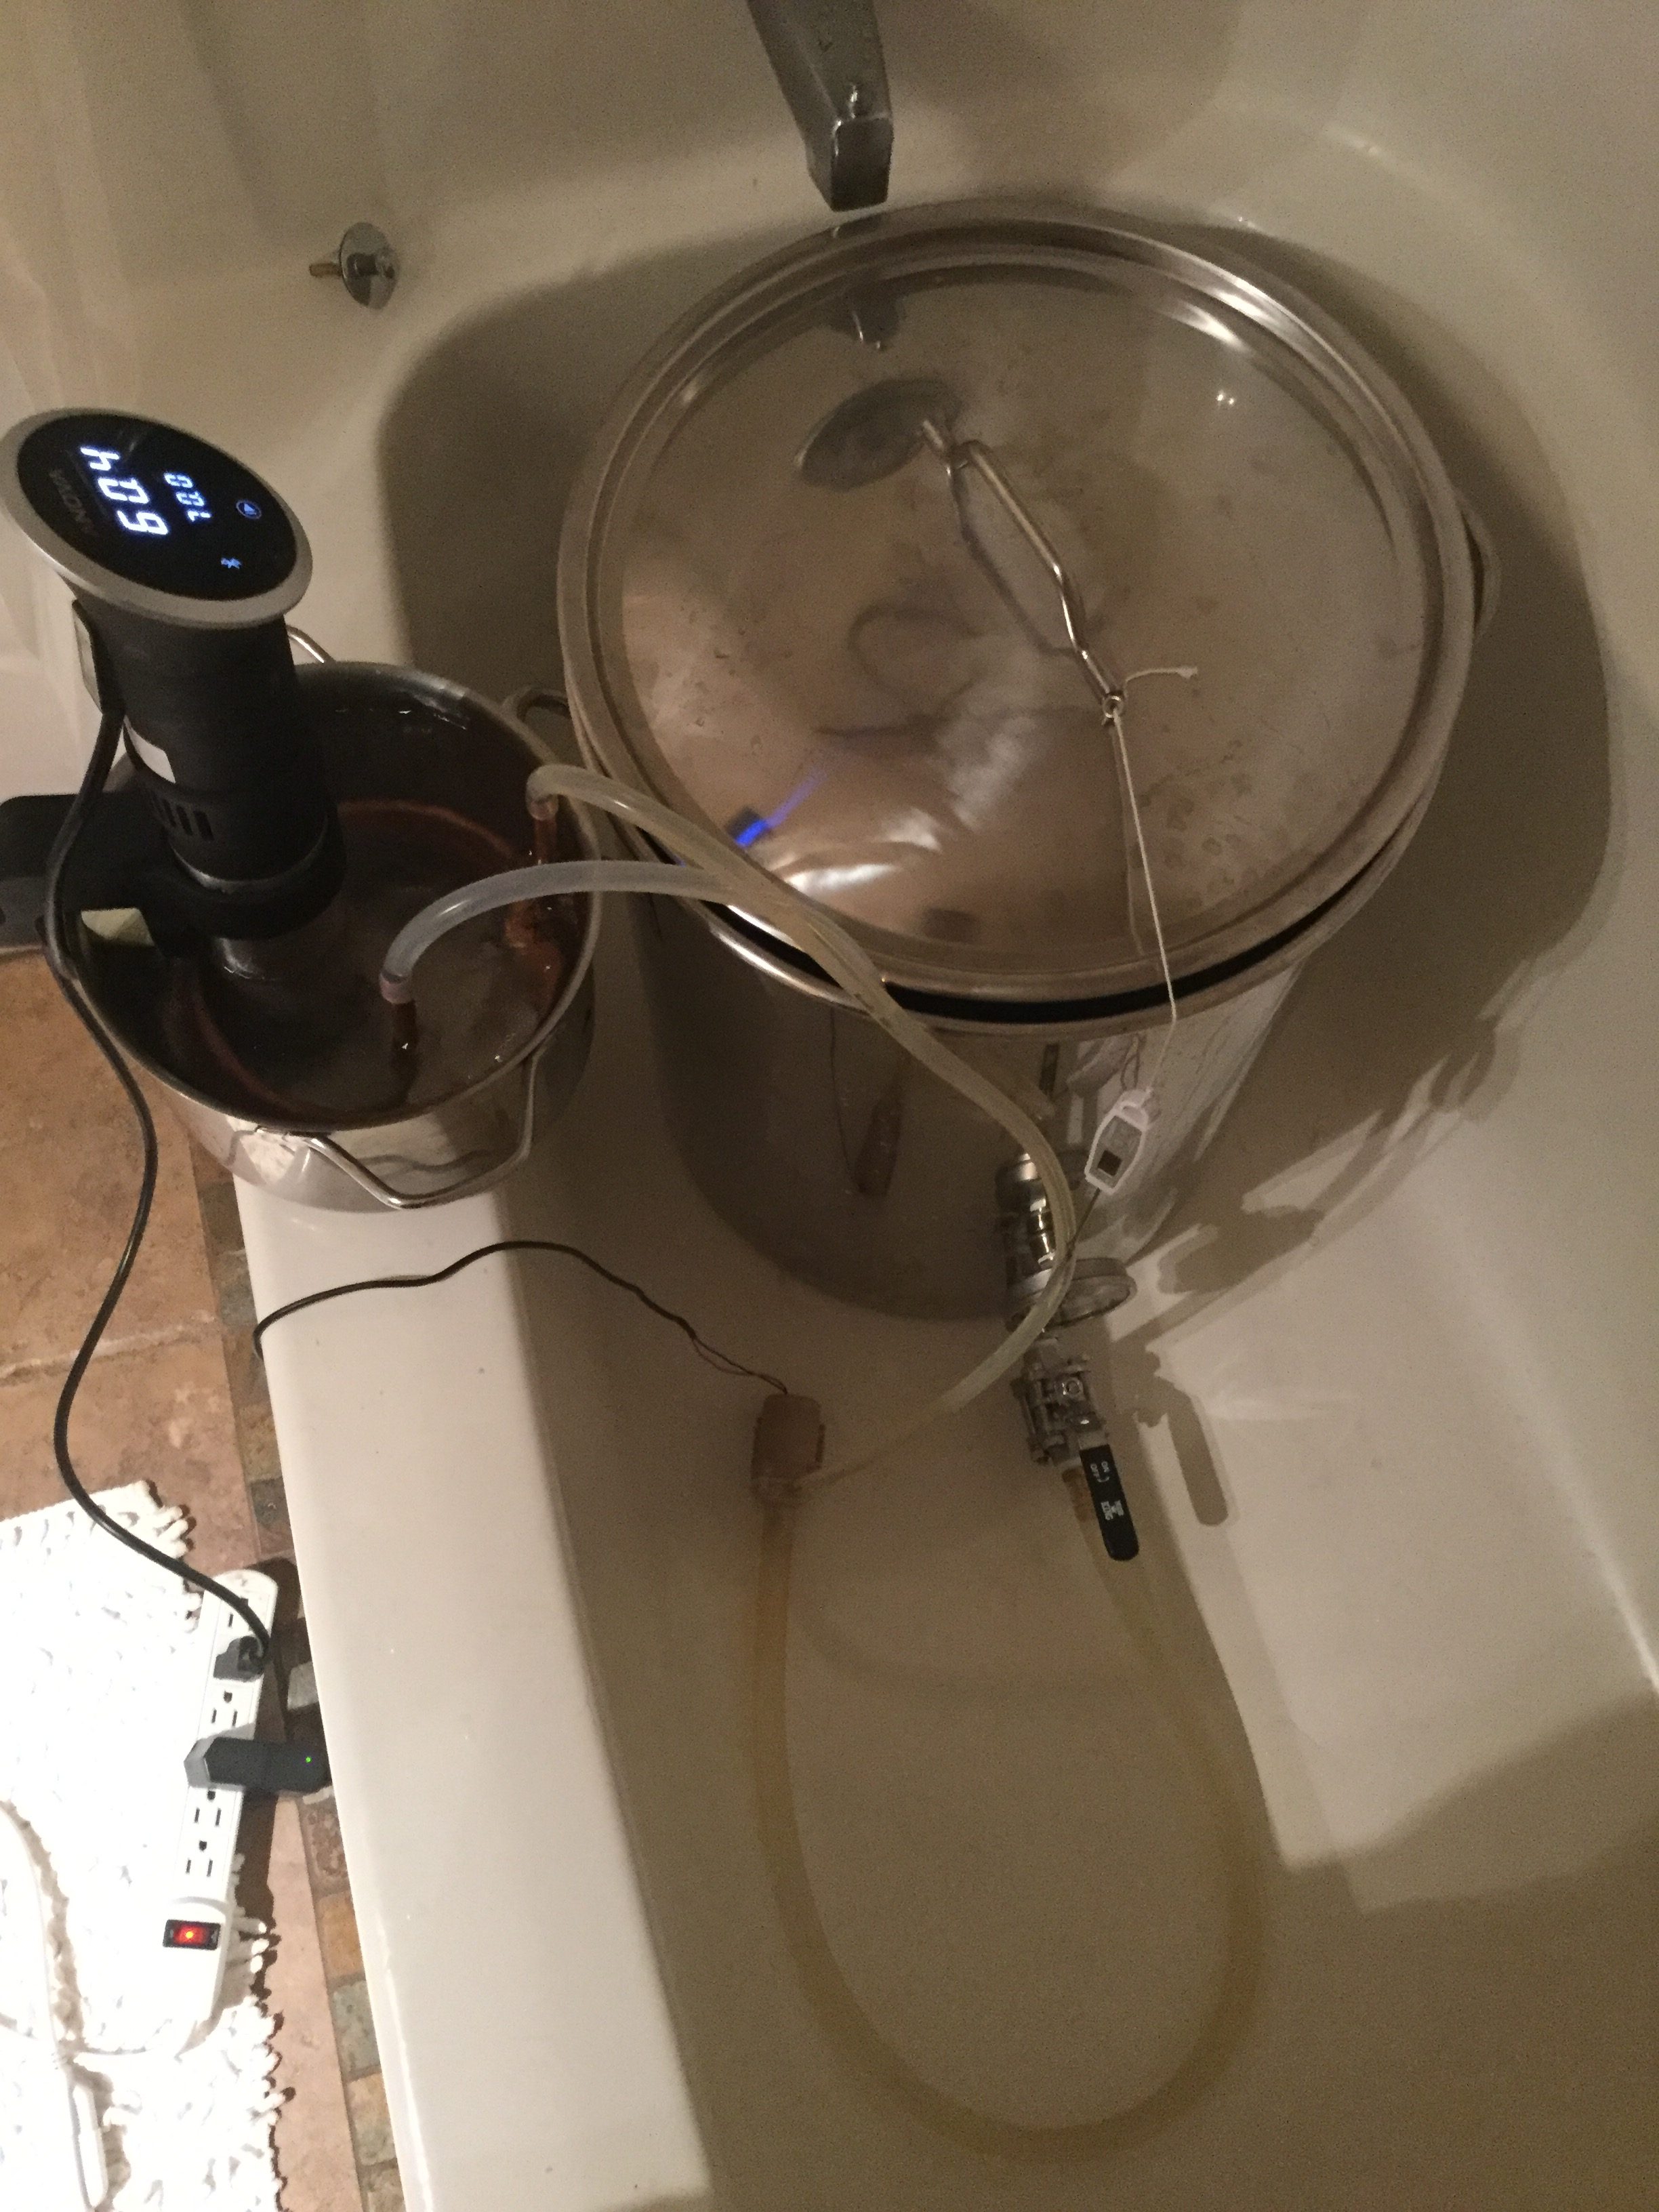
I used an immersion chiller and recirculated with my pump to speed it up. I start pumping with 10 minutes left in the boil to sanitize. I had to shut off the pump after ~20 minutes as the basket was clogged and filling. I chilled for ~15 more minutes to get it down to ~24*C.

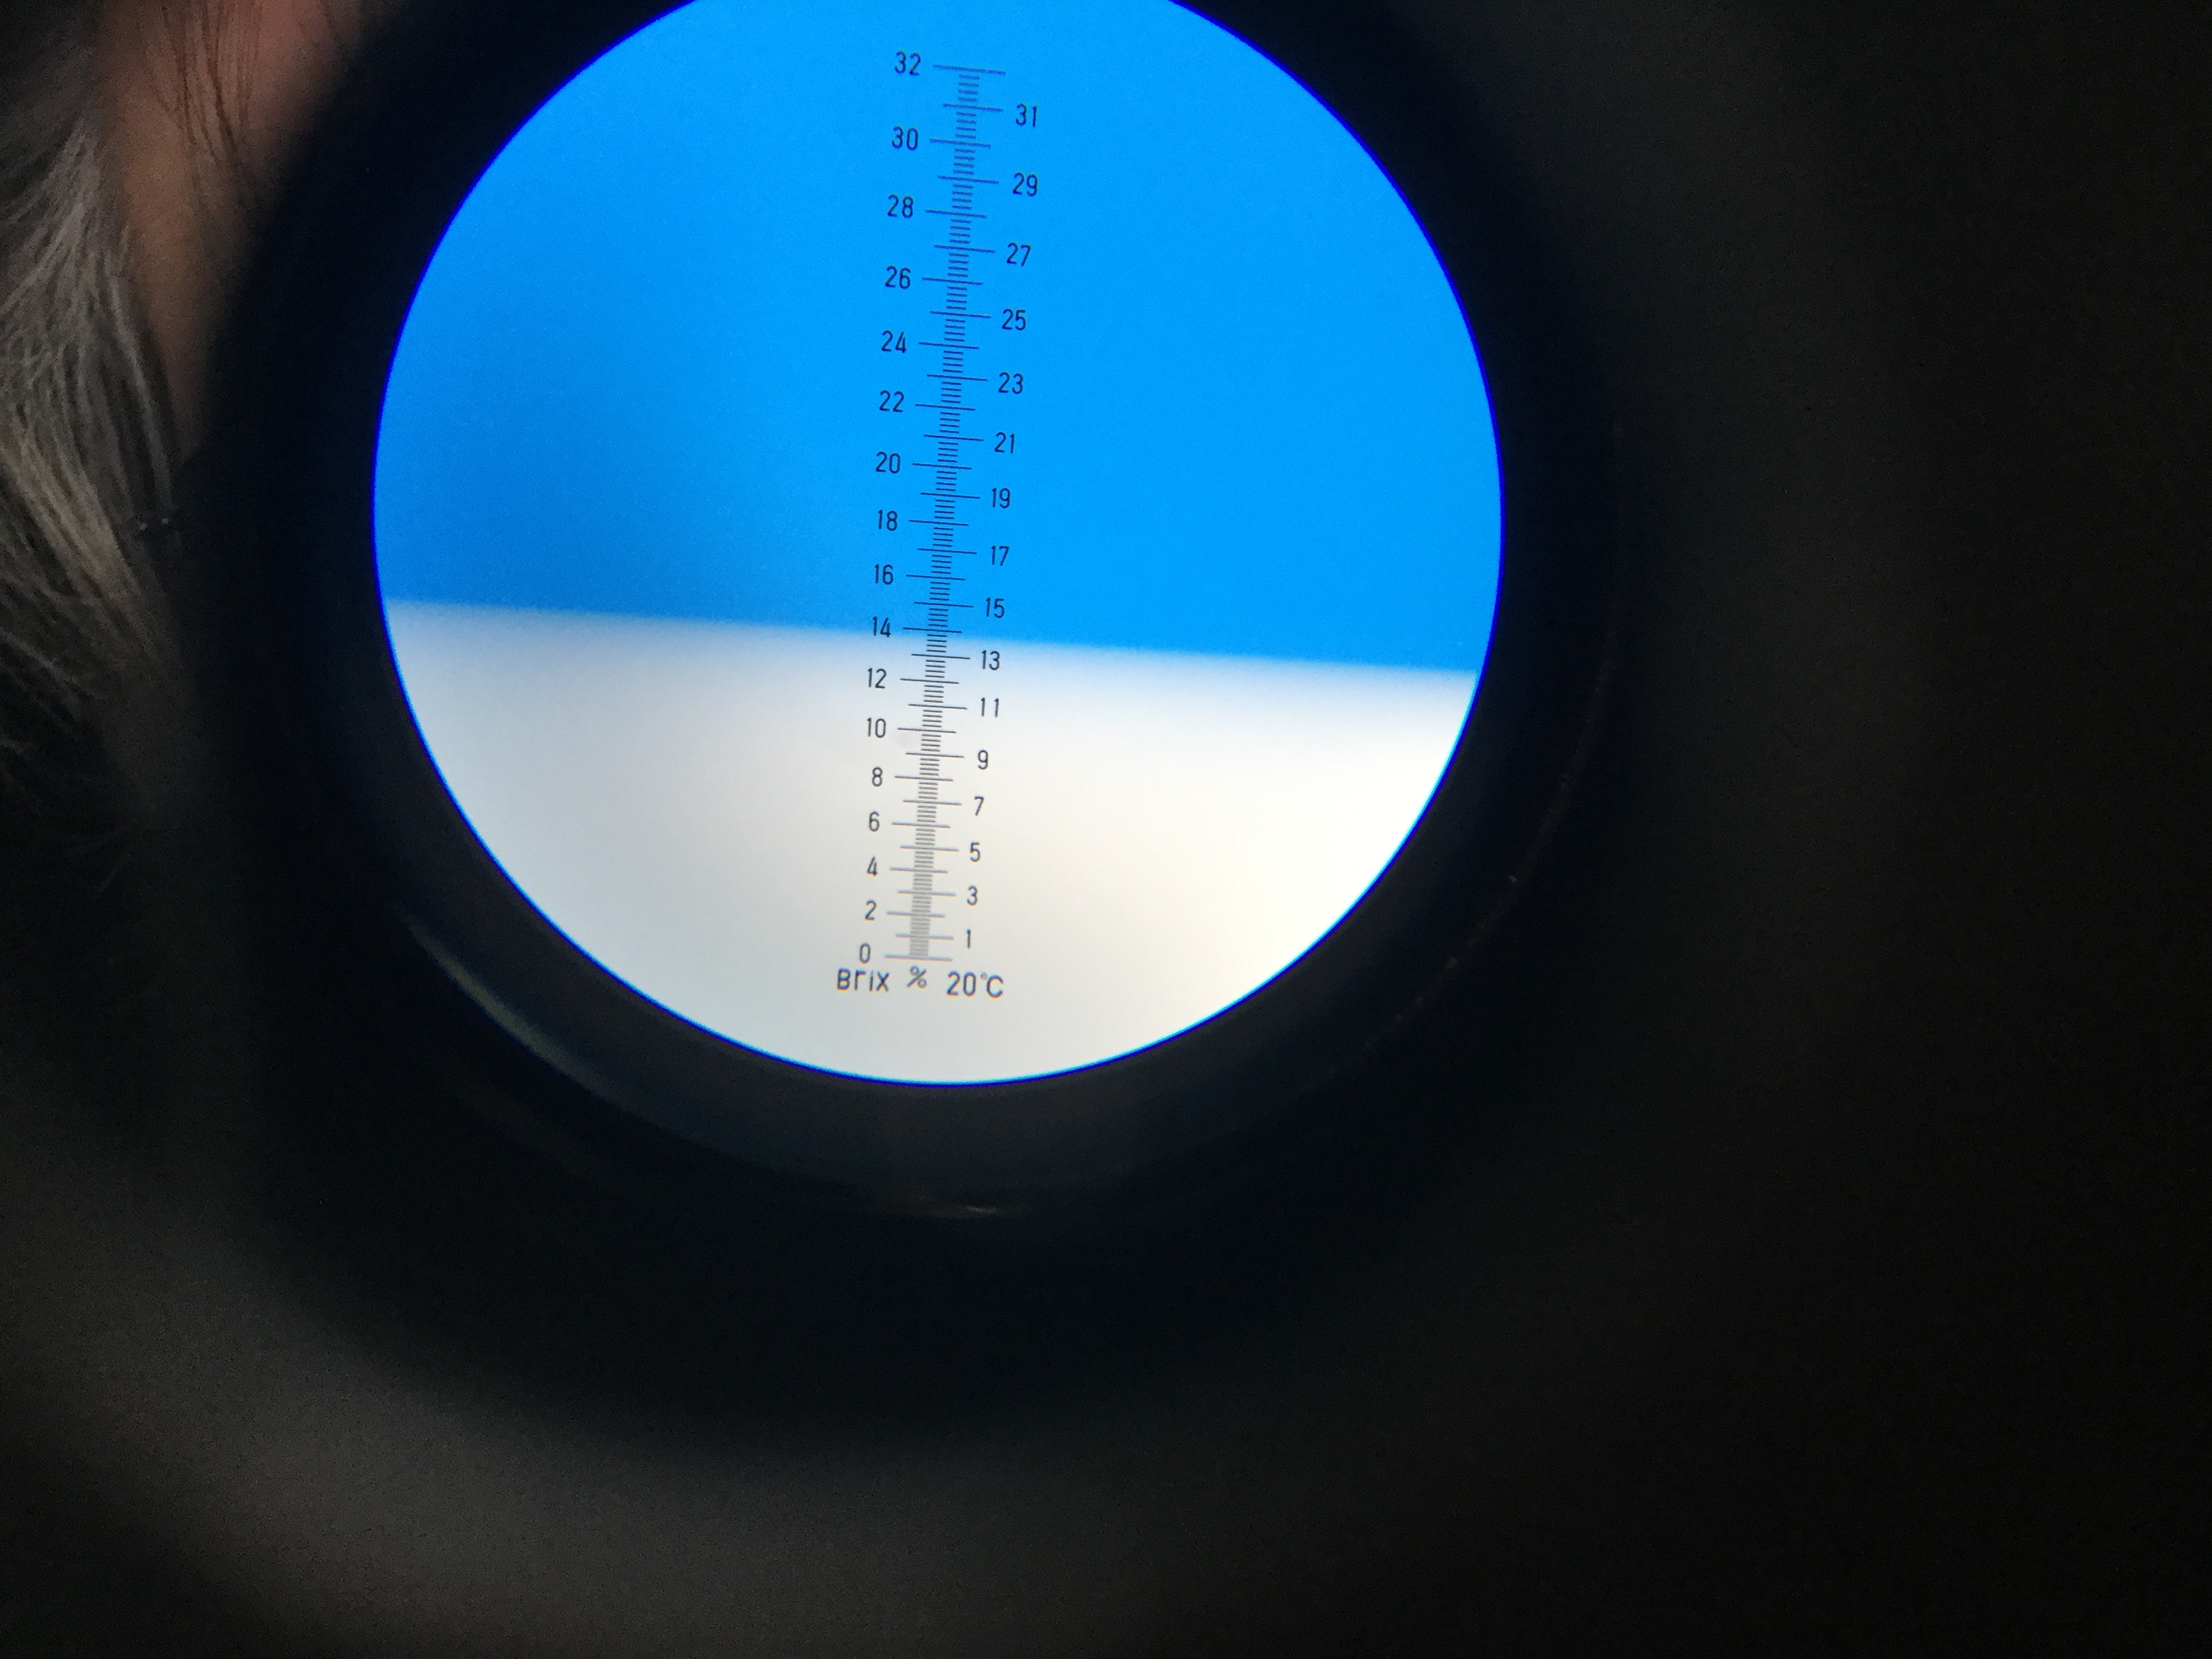
The recipe targeted 1.052 for OG, I measured 13.6Brix which converts to 1.054 in BeerSmith2.

The yeast was dry pitched. I added ~4ml of concentrated clarity ferm with the goal of reducing gluten. I hit it with 60 seconds of pure O2 using a stainless diffusing stone.

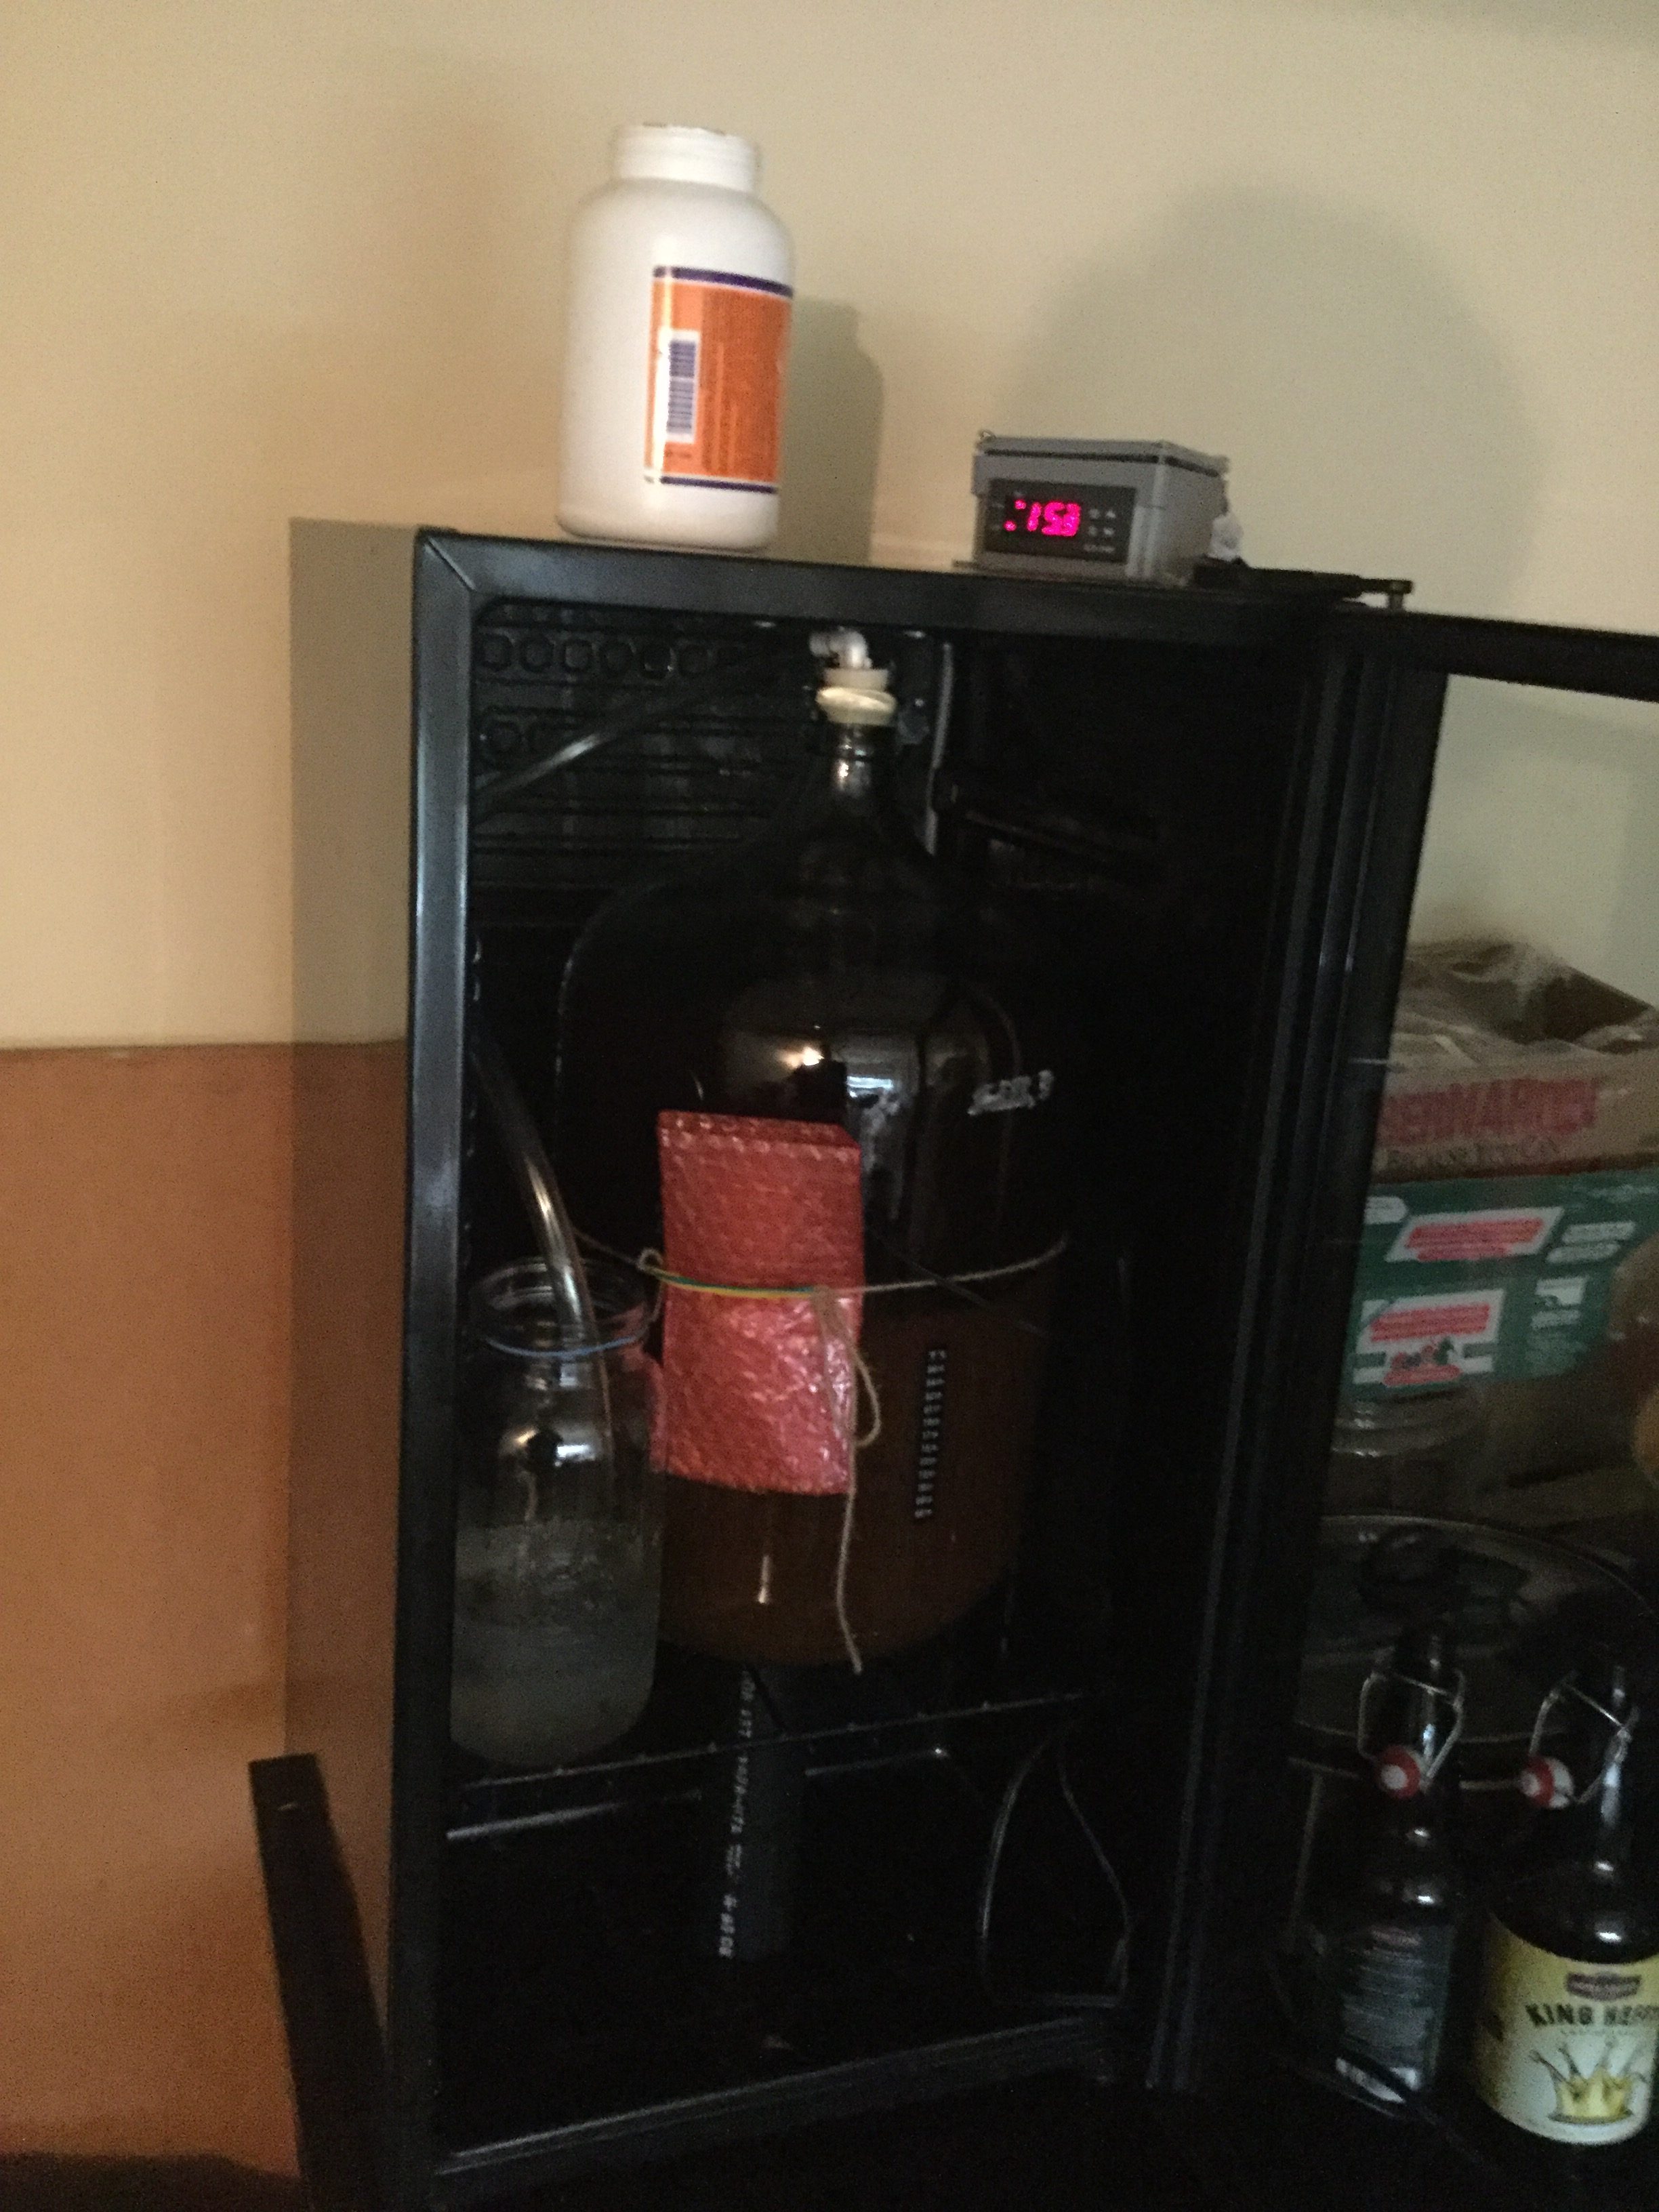
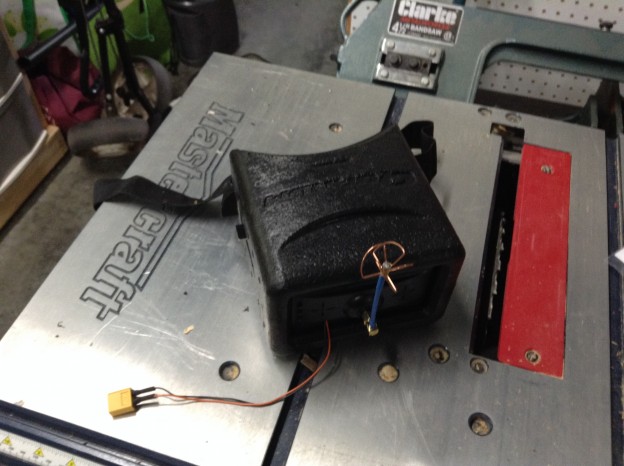
The beer is being fermented in my temperature chamber using a DIY Black Box Brew. It’s running the default profile 0 which is:

  • 19C for 3 days
  • ramps to 21C over half a day
  • 21C for 3 days
  • Cool to ~7C over ~2 days (it’s targeting 1C but my fridge won’t go that cold)

I plan to dry hop for 4 days once it’s chilled. I will toss the hops in loose and use a filter bag over my racking cane to avoid them when transferring to keg.

[beerxml recipe=https://geoffnicol.com/wp-content/uploads/2017/04/Fingerprint-Pale-Ale.xml]

New Brew Pump – XCSOURCE TE091 12V

My previous brew pump, a P-38E or tan brewing pump, regrettably stopped working recently. I ran it for a bit with no water (accidentally had the kettle valve closed when cleaning things) it’s possible that killed it or my ongoing use of oxiclean may have worked through the motor seal (the old one wasn’t mag drive, it had a shaft with a seal powering things).

I found a new model on Amazon.ca for $27.99 CAD (eligible for free shipping!). This new pump looks excellent the head is made of a tough glass reinforced plastic, it’s mag-drive and best of all the whole thing comes apart quickly without any tools! The pump head simply threads onto the body and can be removed in a few quick turns.

For barbs I ordered stainless ones from OBK, using one of each:

Stainless Steel 1/2″ Female NPT x 1/2″ Barb $4.49

Stainless Steel 1/2″ Female NPT x 3/8″ Barb $3.49

On the 1/2″ side I used Silicone Hose 1/2″ ID (per foot) $2.59/foot and one the 3/8″ side some thinner wall silicone tubing I already had.

Simply using one barb and screwing the pump onto your kettle’s ball valve could also work.

My pump came with a power connector instead of the advertised bare leads. There was no labelling for polarity but a 12V 1Amp supply with centre positive seemed to work fine on it.

Time will tell if it’s robust or not but for the price it seems quite promising. I particularly like how easy it will be to clean and inspect. I was a bit sketched out by the previous design as it felt like nasties could hide in hard to access areas.

Sous Vide Cheapo HERMS

After my problematic first BIABasket brew, I decided I needed some temp control on my mash to make life a bit easier.

I considered a RIMS system. Possibly based around OBK’s Stainless Steel RIMS Tube – 1.5″ Tri Clover Compatible for $110. It looked like the price would start to get up there by the time I’d purchased the necessary heater, heater tri-clover adapter, temp controller, enclosure for controller, etc.

Instead, I decided to try using my Anova Sous Vide. These are ~$200, so not crazy cheap still, but they are quite useful in the kitchen; and I happen to already have one.

Initially, I considered simply putting the sous vide into the brew pot but outside the basket. This had the advantage of being exceedingly simple. I had some concern the humidity levels might damage the Anova. More importantly, on reading up about it others seemed to experience some level of scorched wort sticking to the heater; that didn’t sound at all appealing.

To avoid these issues, I paired my $22USD brew pump with 10 feet of 3/8″ copper pipe ($18.19CAD from Canadian Tire). This ensures the Anova only contacts water, the heat is exchanged into the beer in a HERMS style copper coil.

I ran a test to verify this setup could actually maintain 8 gallons of water in my kettle. Though my mash temp would normally be closer to 153*F/67.2*C I started with the hottest water my tub would provide to ease the experiment. Charted over a 1 hour test I got:


Time Anova *C Kettle *C Kettle ΔC/20m
0:00 60.3 55.0 n/a
0:20 61.6 56.6 1.6
0:40 63.3 58.3 1.7
1:00 64.7 59.7 1.4


I first made a tighter coil, using a mini crock pot as a guide.


Next I bent up both ends up the pipe. A tubing bender was critical for this (the pipe was quite prone to simply collapsing if bent by hand)


I test fit everything with the Anova Sous Vide to confirm it looked correct.


As the ends on the pipe were quite crushed/irregular, I cut them both back around a half inch to clean it up.


Lastly, I did a test run in the tub with hot water to confirm the system could actually raise/maintain temperature.

BIABasket – First Attempt

I recently purchased a new Brew In A Basket system from OntarioBeerKegs.com. They had a special making it $300 CAD shipped for the kettle, valve, thermometer and basket. I opted for the 16.5 gallon version and I think it was a good move. The 8 gallon kit just seems too small for the average batch. I also added a 12″ Bazooka Screen. Adding a 1/2″ stainless nipple would have been wise for the valve but I snagged a brass one locally instead.

It’s a beast! But the overall process of brewing with it is, generally, notably simpler and quicker.

BIABcalculator was quite helpful for calculating how much water to use and the temp to heat it to. Nailed my starting mash temp. Total mash volume was 8.19 gallons with the grain in.

On my first brew I found the mash was cooling down after ~20 minutes so I attempted to lightly heat it with the propane burner while stirring. I notably overshot temperatures on it and suspect I’ve ruined the batch. I will look into regulating temp with a cheapo HERMS setup for my next brew.

Other than that notable hiccup, the brewday was quick and easy. I started capturing filtered water at 10:15am and was done cleaning up completely by 2:30pm.

I attempted to brew the Thundersmoke Brown Ale.

Homebrew Fermentation Temperature Control

I was planning to build out a BrewPi but decided to go with a DIY BlackBox Brew. The BlackBox is more than capable of handling what I need and it only cost ~$42 CAD all in.

The main parts for the project were:

  • Wine Fridge – $50 Used (Excellent price!)
    • I slightly cut down one of the wire shelves so it fit just above the compressor hump.
      • Liquid Electrician’s Tape sealed up the cut ends nicely.
    • A short length of ABS pipe was added to help support things.
  • VIVOSUN Waterproof Seedling Warming Heat Mat – $21.95
    • Using an aquarium heater in a mason jar while I wait on the mat to arrive
  • STC-1000 A-400P version – $25.36
    • Note you _must_ use this seller to ensure the A-400P version
  • HomeDepot Junction Box – $13.16
  • HomeDepot Grey Outlet – $3.80

I also needed an extension cord which I cut down to run power to the BlackBox, an outlet face-plate (as a template and for its included screw) and an Arduino to do the programming.

I started by opening the STC-1000 and soldering in a programming header. I attached cables so I can route out the header allowing for easy updates in future.

controller-programming-headercontroller-parts


I had to cut off the receptacle’s tabs so it would fit the enclosure. I used a horizontal metal cutting bandsaw but a hacksaw would be fine too. You also want to break off the tab from the ‘hot’ side of the outlet (narrow slot side) to separate the outlet into heating/cooling sides.

controller-plug-modified


I located the center of the box and drilled an undersized hole for the screw. Using that, I screwed the receptacle cover to the box and traced the shape with a sharpie. Following that template I simply plunge milled a wallop of 1/8 holes using my mill. The resulting cutout was a surprisingly accurate snap fit. For the STC-1000 I measured and traced a template then similarly plug milled a bunch of holes; followed up with a pass on the mill to smooth the lines.

controller-plug-installed controller-dryfit


Ultimately, the fit was very very tight! The STC-1000 has a little wiring cover which I had to leave off. Further, it had a little nub to receive the screw for this cover, I had to cut that off to make it all fit.

controller-dryfit2


You end up needing two neutral wires (one to power the STC-1000, one for the outlet) and three hot wires (one for the STC-1000, one for the Heating relay, one for the Cooling relay) and a single ground for the outlet. Merretting all those connections would consume too much space so I soldered and used heat shrink instead. I tinned the ends that will go into the STC-1000 as I find that prevents stray wires and tends to grab better. I drilled a tight fitting hole for the power cord and split/knotted the insulation to act as a stress relief. A tight fitting hole for the temp sensor was added on the other side.

controller-wiring-prepped controller-wired

Once it was all together, I connected it to the configured Arduino and programmed it. Note the STC-1000 will emit a disconcerting buzzing sound during programming, apparently that’s normal/expected.

controller-programming


For the header I installed the connections were:

  • ICSPCLK – Pin 9 – Blue
  • ICSPDAT – Pin 8 – Purple
  • GND – GND – Grey
  • VDD – 5V – White
  • nMCLR – Pin 3 – Black


The ultimate plan is to strap the temperature sensor to the side of the carboy with a sponge/insulation over it. This won’t be as accurate as a thermowell but it’s simple, cheap and ought to be sufficient.

Beerdiful Oatmeal Stout

The Oatmeal should be spread out in a dish and placed in the over at 350*C for around 20-30 minutes. Stir around every 5 minutes. I’ve found it works best to do this the night before so it can cool back down to room temperature.

I’d advise throwing in some rice hulls if fly sparging, I didn’t and very nearly had a stuck sparge.

[beerxml recipe=https://geoffnicol.com/wp-content/uploads/2015/11/oatmeal-porter.xml]

Brew Pump

I added a small cheap pump to automate whirl-pooling while I run my immersion chiller. I start to run it during the last 10 minutes of the boil to sterilize the pump/tubing/etc. It seems to get the wort down to mid 20’s C in around 15 minutes.

In future I’m looking at automating sparging with it as well. I plan to add a high/low level sensor around 1″ apart. When the level hits the low sensor it would pump till its back to high. This seemed simpler than trying to match flow rates exactly on input/output.

DC 12V Electric Centrifugal Water Pump 109 GPH (P-38E) $22 USD shipped

AC to DC 12V 1A Power Supply $2.49 USD shipped

Pump and Kettle

Quanum DIY FPV – Fully Integrated Receiver

The Hobby King Quanum DIY FPV Goggle Set with Monitor is a cheap FPV headset but if you use the provided wiring with an external video receiver it ends up a bit cumbersome.

To make it easier to use, I embedded a RX5800 video receiver right in the screen leaching power from an existing regulator.

Leaching power seemed to work fine for a bit but the receiver started to work intermittently. I think it was drawing too much current for the existing regulator. I threw in a LM7805 with a 10uF cap on the input side and 0.1uF cap on the output side. Given the internally mounted receiver and regulator I may need to add more venting but I’ll give it a try as is for a bit longer first.

2015-06-14 15.24.53


Quanum Screen with VRX Glued
I insulated the screens pcb using some electricians tape and hot glued the video receiver into position.

Quanum All Assembled
I velcro and strap the battery onto the headstrap (not shown) when in use.